

You will need:
small amount of green fabric
small amount of orange, maybe 1/4 of a yard
scraps of batting
(I always save my quilting scraps of fabric and batting)
Thread
Sewing Machine
Scissors
Cut a strip of green fabric about 1 1/2 – 2 inches wide and 12 inches or so long.
Just estimate and using scraps,
it does not need to be exact.
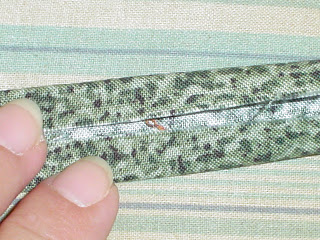
Fold the strip in half and press it;
fold both sides in and press it;
then in half again, press it, like a double bias tape.
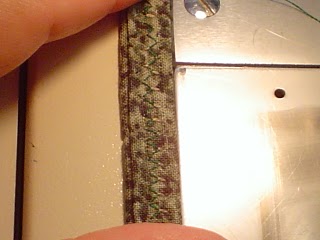
Sew a zig zag all the way down. The purpose is to hide your raw edges.
Cut your orange fabric to look like a pumpkin.
I folded my fabric 4 times to get 4 pumpkins pieces, I cut all 4 at one time.
The fabric was right sides together twice so that they would be the same shape.
Be sure to make the bottom of the pumpkin flat so that it will be easy to stitch up.
Cut 2 layers of batting, place it under the pumpkin.
(I have also used batting and a layer of denim from old jeans.)
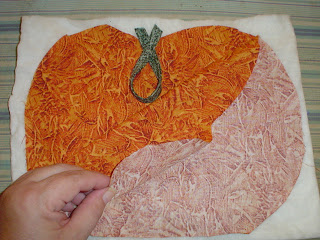
Place wrong sides (non-printed side) of pumpkin together; put them on top of the batting.
Place your stem inside as a loop.
Gently lay the top layer of pumpkin down,
making sure it is even with the other pumpkin.
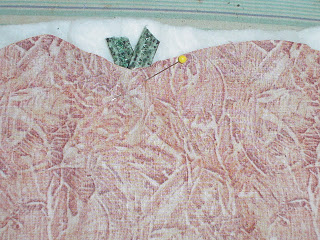
Pin your stem and pumpkin in place.
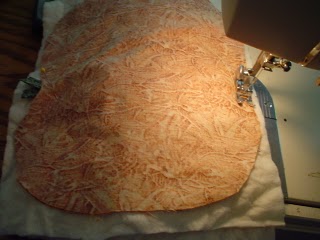
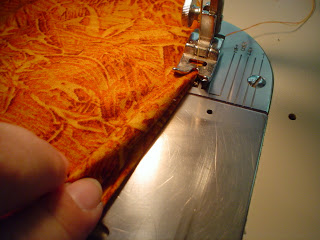
Starting a couple of inches over from the center bottom,
stitch around the pumpkin;
remove your pin when you come to it.
Leave a 3-4 inch opening at the bottom.
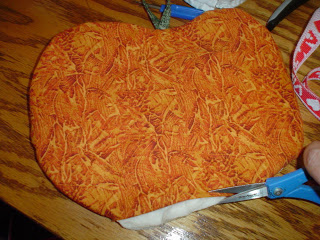
Trim off excess fabric, batting and stem that is sticking out.
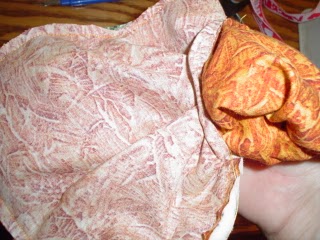
Carefully turn pumpkin right side out.
You may want to trim a little of the batting off at the bottom here.
Then fold your opening under, making a small seam, you can press it if it helps.
As closely to the fold as you can, sew the opening closed.
Be sure to backstitch to hold it secure.
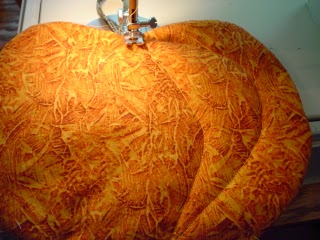
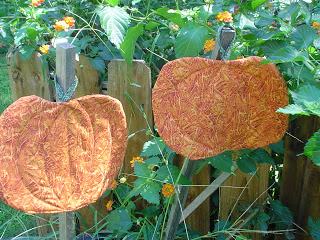
Starting at the top center, sew half circles to make it look like a pumpkin. When you get to the bottom center, while your needle in down in the fabric, lift your presser foot up, turn your pumpkin in the opposite direction, put foot down and sew upward. Continue this until you have enough lines sewn.
pat says:
Found this site today. Can’t wait to explore it!
Tracy says:
These are adorable!